How to make a trip book
Start with a resort, drop a few points, get a route, and leave with a poster or a share link. No account at any stage.
1. Pick a resort
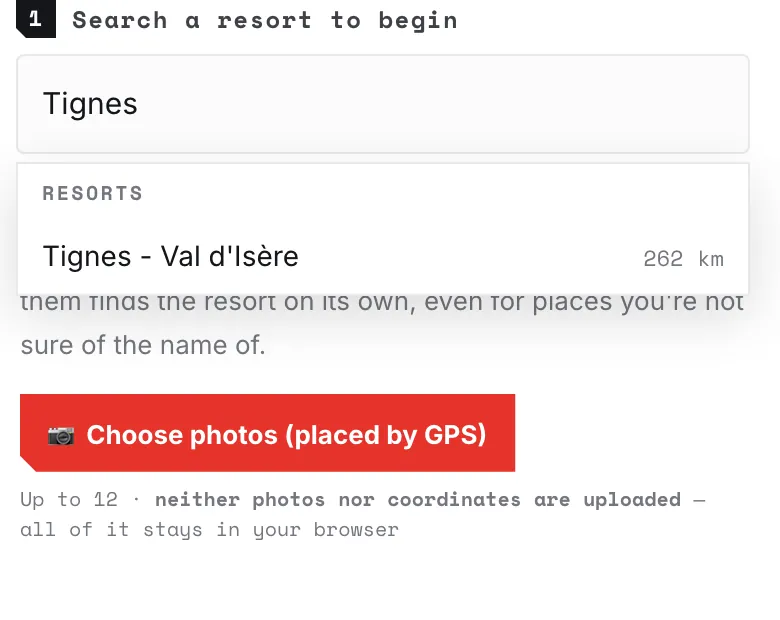
Search by name — local aliases work too. Once one is selected, the same box searches the runs, lifts and places inside it.
You can also skip this step: go straight to photos, and the GPS in them finds the resort on its own.
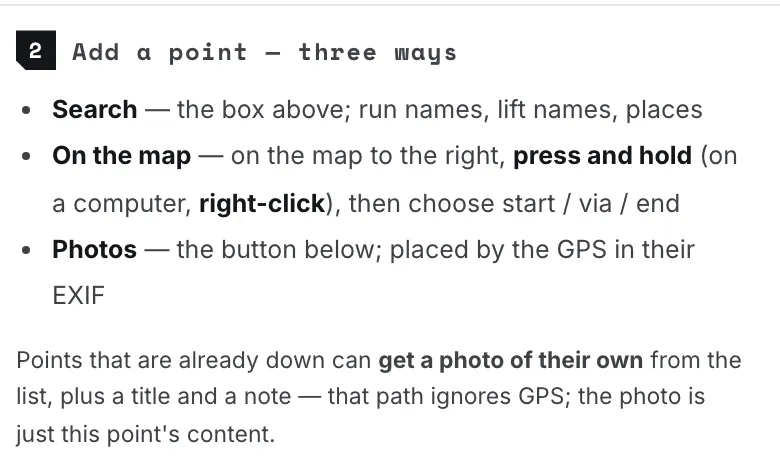
2. Three ways to drop a point
⚠️ A single tap on a run opens its details — it does not drop a point. A run has two ends, so “start from this run” is an unfinished sentence. Dropping is press-and-hold, or right-click.
A dropped point snaps to the nearest run or lift, and the app tells you how far it moved it. With nothing skiable nearby it keeps the spot you tapped, and says so.
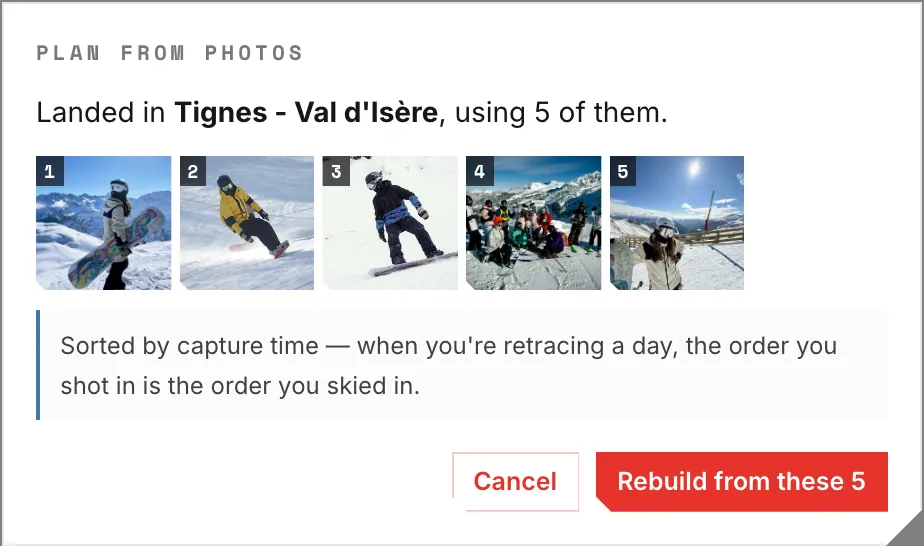
3. Let the photos do it
Pick a batch and they're ordered by capture time — when you're retracing a day, the order you shot in is the order you skied in. Photos without a capture time follow the order you picked them in, and you can reorder them in the list.
⚠️ iPhones shoot HEIC by default, and Chrome and Firefox can't display its thumbnails (the coordinates still read fine). Export as JPG from Photos if you want to see them.
4. Write something on each point
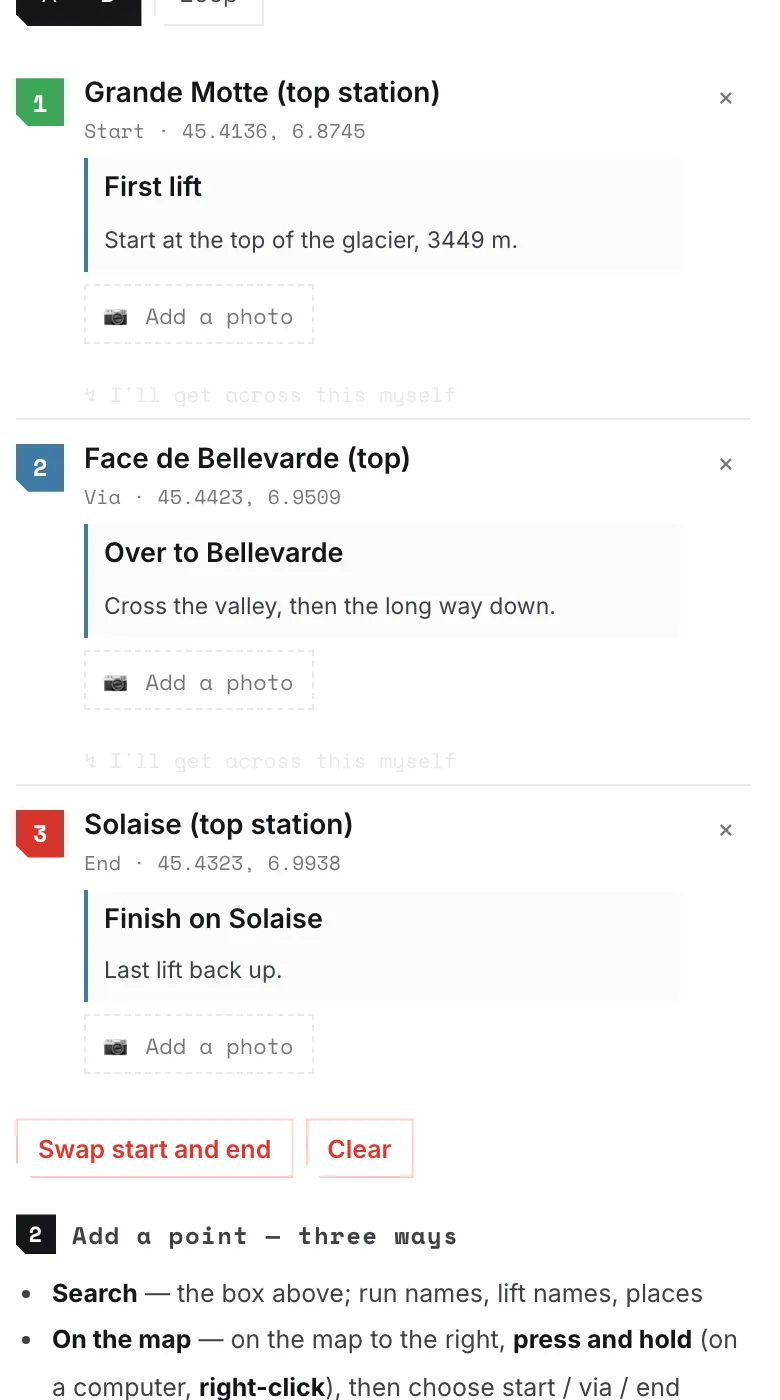
Every point takes a title (large) and a note (small), and can carry a photo of its own — that path ignores GPS; the photo is just this point's content.
Title up to 24 characters, note up to 140. Tap elsewhere to collapse.
Between any two points there's one more switch: I'll get across this myself. Crossing a road, taking a shuttle, walking a flat — that leg becomes a straight-line estimate, and the poster and the totals say so.
5. Make the line match you
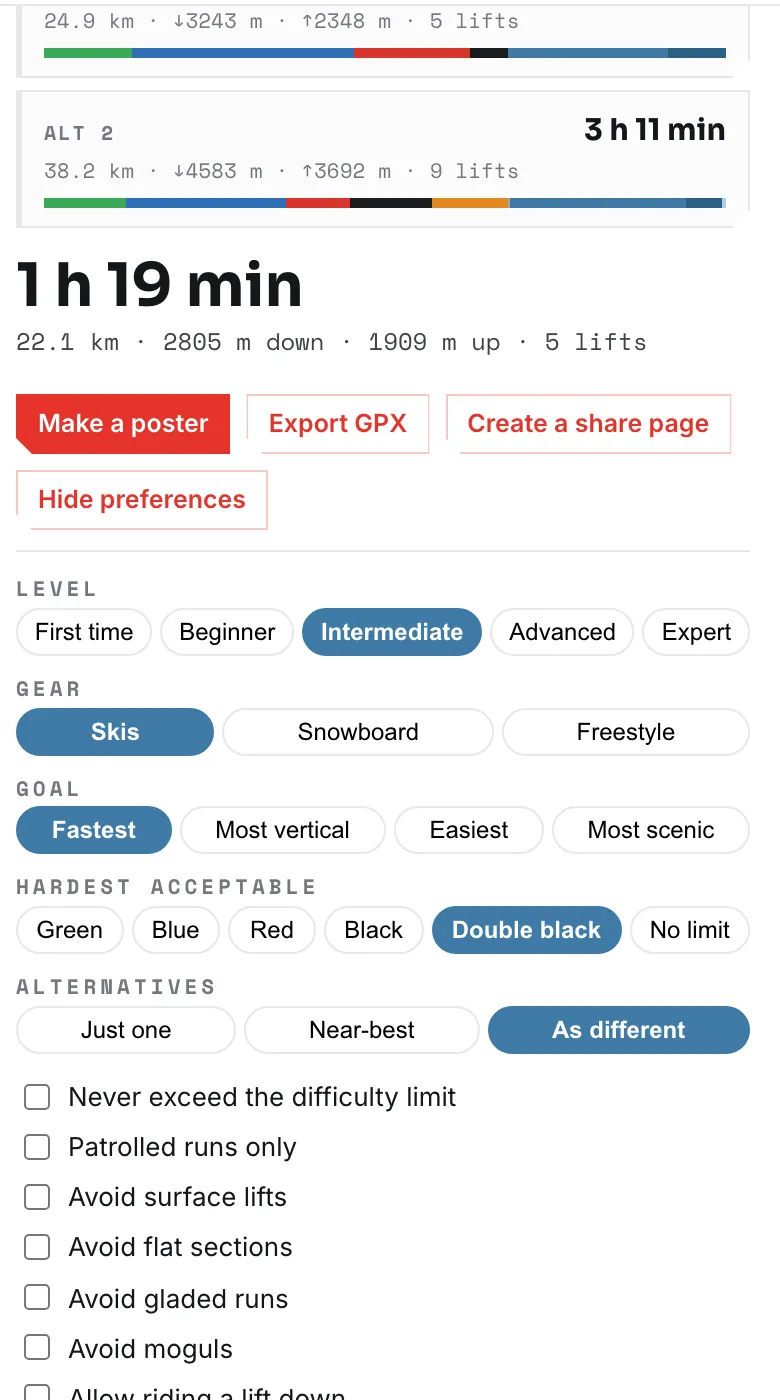
Some of them the engine turns on for you — a snowboard implies avoiding flats and surface lifts — and it says which ones, above the result.
Where an attribute isn't tagged on a single run at this resort, its switch is greyed out with the reason: flipping it could not change any route.
6. When there is no route
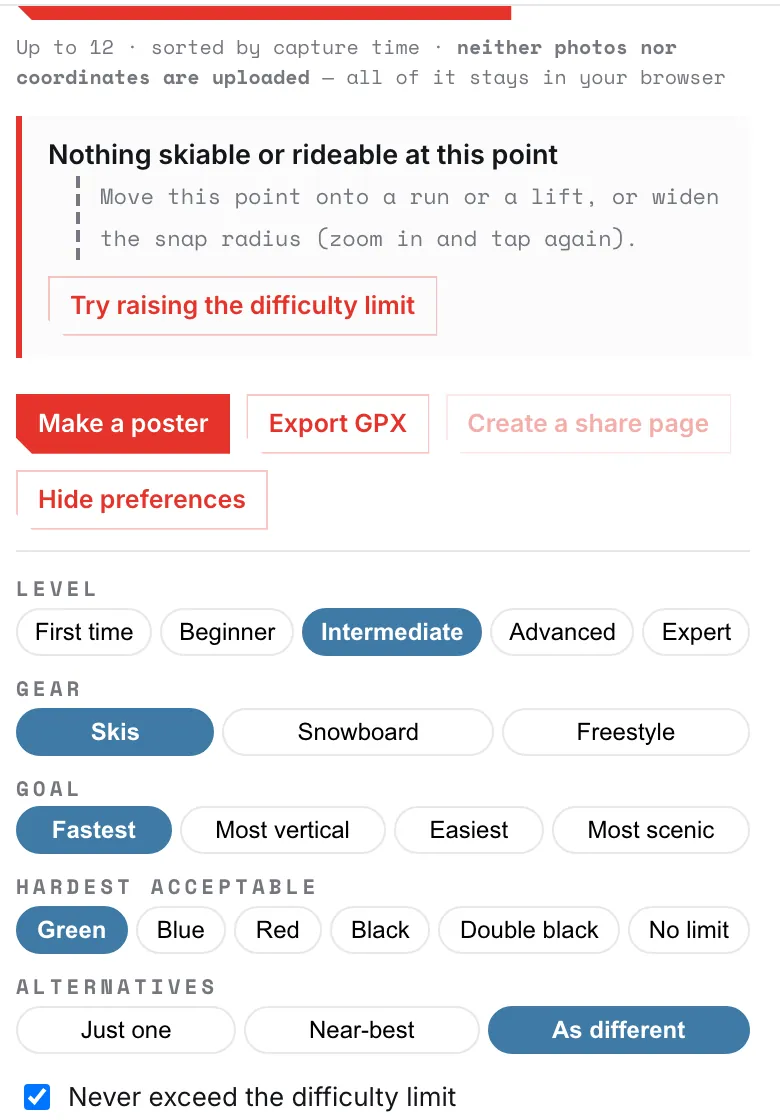
It doesn't stop at “no route found”. It shows which two points it broke between, the gap in metres and the drop, and names the kind of break:
- Nothing skiable or rideable at this point
- A preference is blocking the way
- One-way only: you can get there, not back
- These two sit on networks that don't connect
If a preference is what's blocking, you get a relax that one and retry button. If it's just a missing connection, you get “I'll get across this myself”.
7. Alternatives
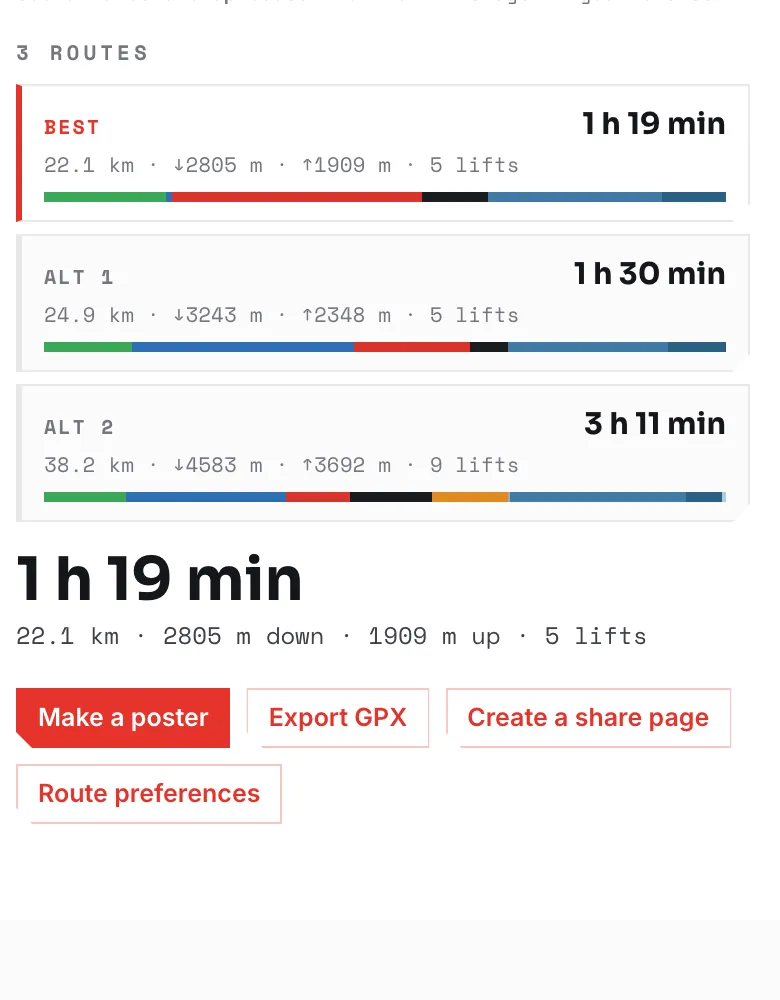
Up to three, all drawn on the map rather than listed in a table — so you can see where each one actually goes. The bar under each is its difficulty mix, by distance.
8. What you can take away
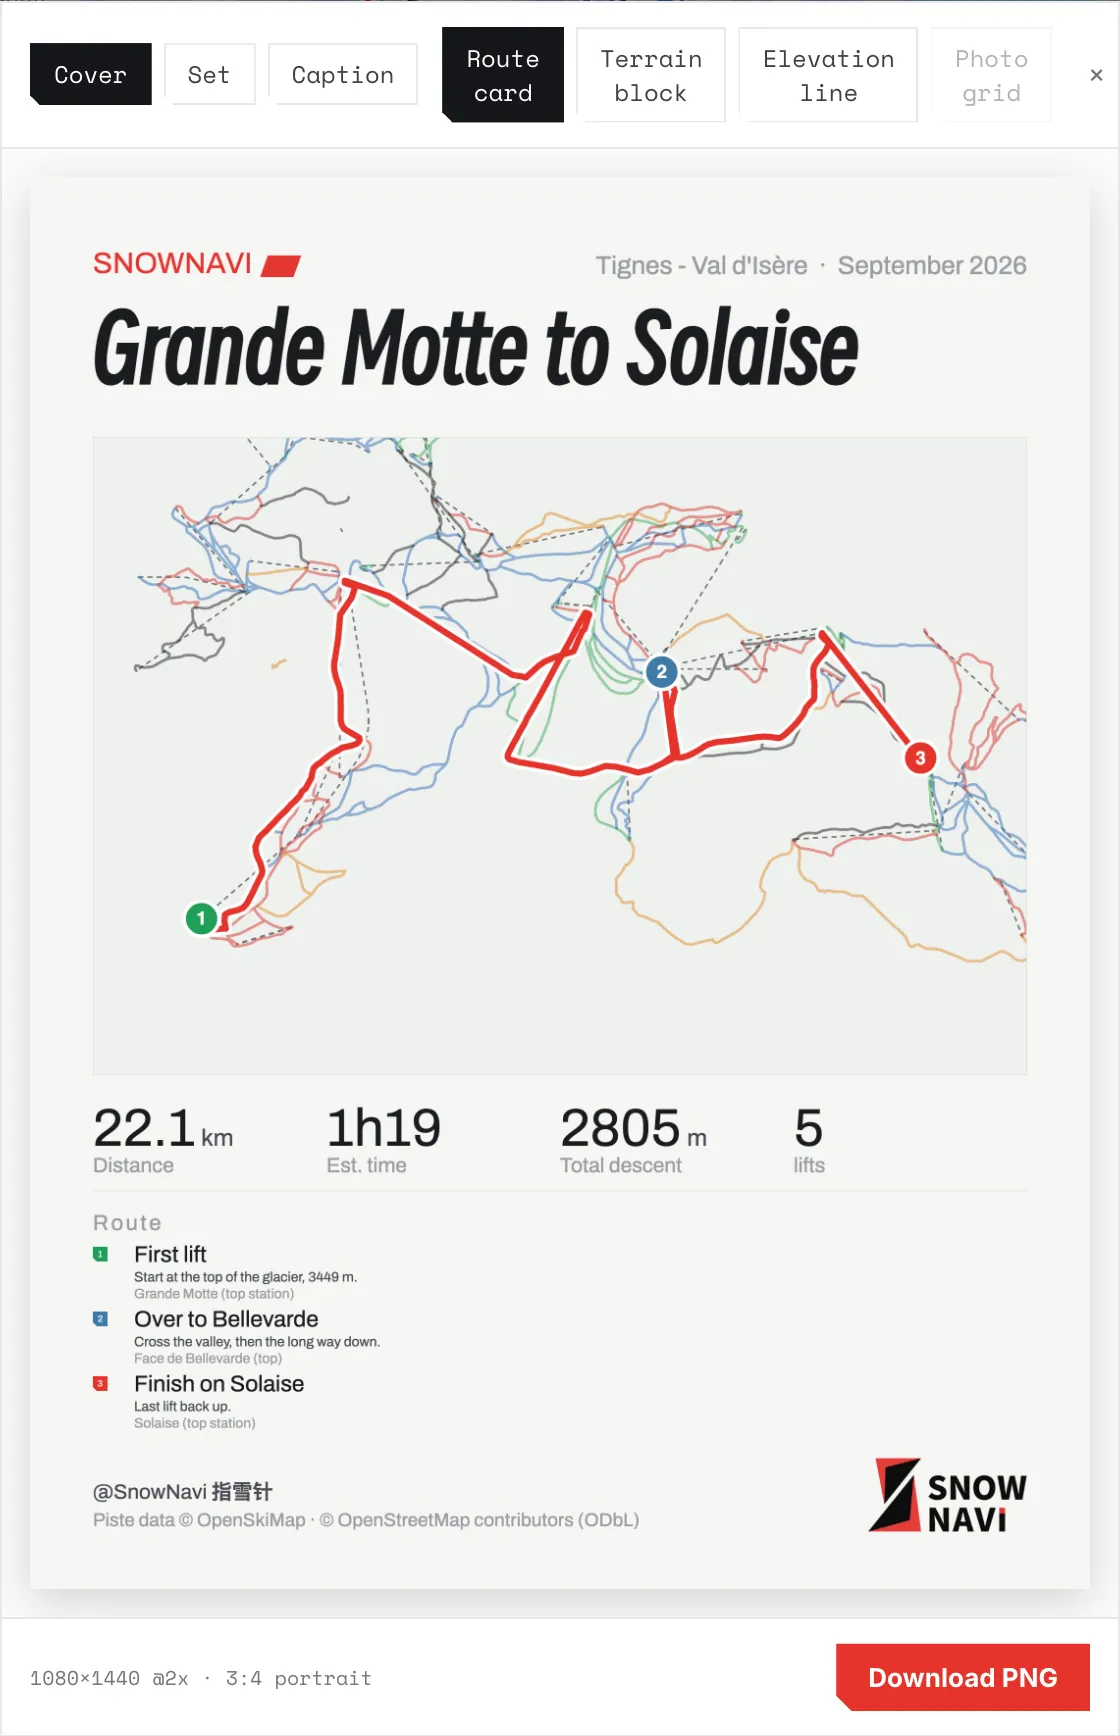
Route card, Photo grid, Point card, Leg card, Elevation line, Terrain block
Two things people get wrong
A share link cannot carry your photos (titles and notes do travel). To show people the pictures, use a poster or an image set.
There are no accounts, so the credential that lets you edit or delete lives only in the browser that made it. Change device and you can't edit your own trip any more — but the link keeps working.
Just start →Back to the resorts
Piste data © OpenStreetMap contributors (ODbL), via OpenSkiMap.